We all know the phrase “Don’t judge a book by its cover” means you should not decide upon something based just on outward appearances, but when we talk about the context for a home decoration of “FASHION BOOKS” definitely it is the opposite of its meaning. Because we want to create a unique book covers that stand out and look dazzling.

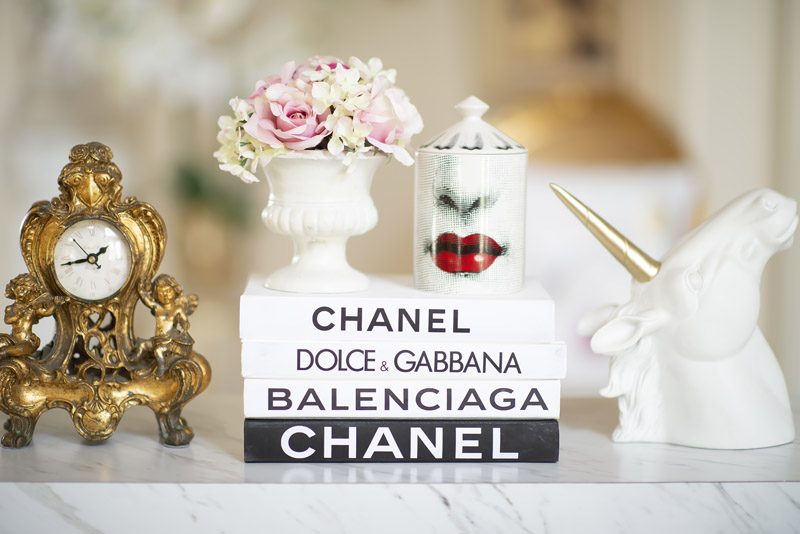
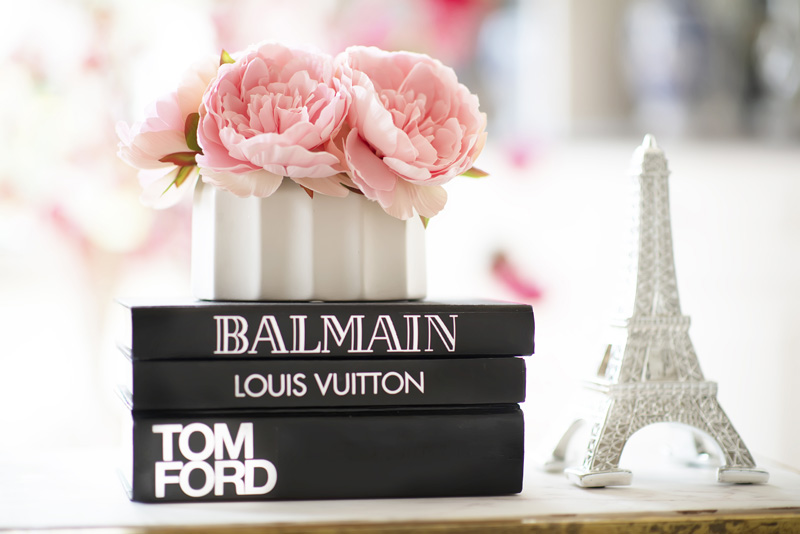
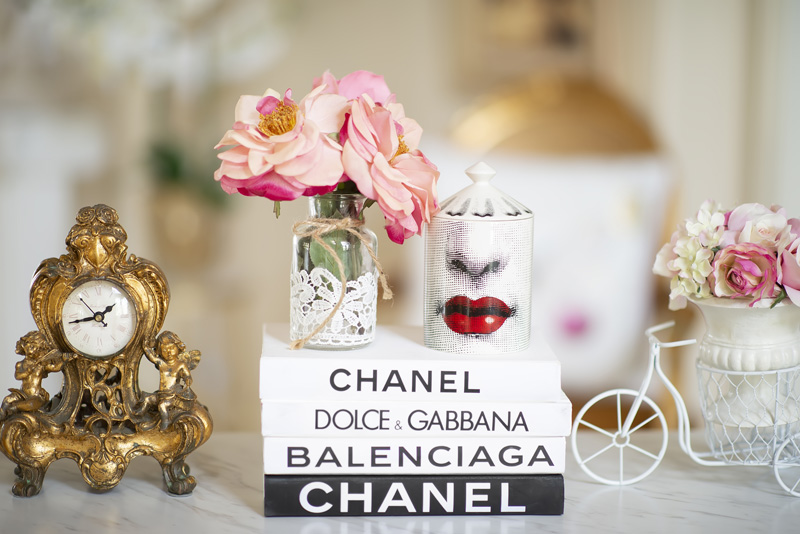
These chic fashion books add an edge to any rooms, whether they’re sitting pretty on your coffee table, console table or on the bedside table in your bedroom, and they give guests the sense that you as the host, desire to please guests with a nice décor.
Are you interested to make your home décor for these stand out decor? No worries, you don’t have to spend the big bucks or pay someone to nail the pieces together because it is an easy-breezy & inexpensive DIY.
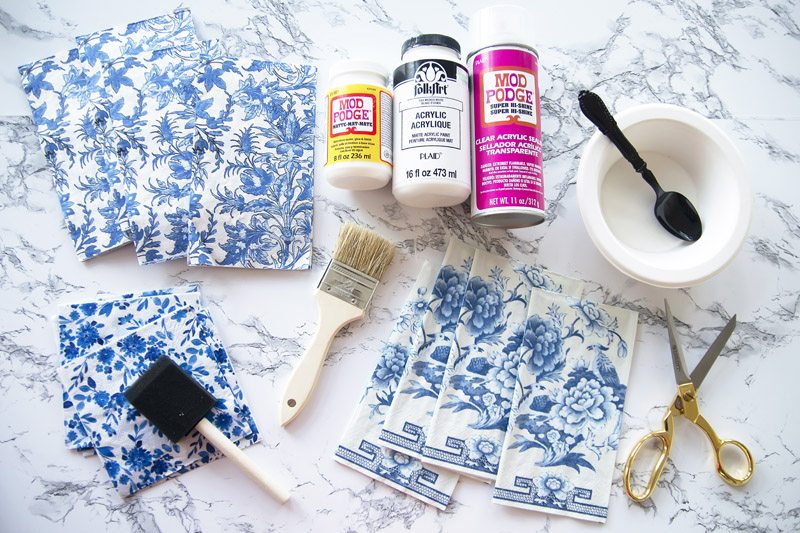
These are the supplies and tools you need for this project:

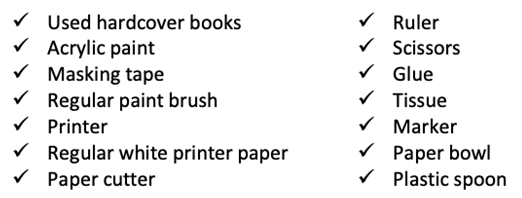

So here is what we are going to do. First, choose some thick hardcover books that you already have at home, or you can get them from a thrift store like I did. I bought these used thick hardcover books at a thrift store for $ 2.00 each. Remove the dust jackets of each books.

Attach masking tape along both sides of the book’s spine before you painting it with acrylic paint to avoid mess.
I use acrylic paint because it is water soluble when wet and waterproof when dry. Also, it’s easy to clean with water and dries quickly. You can find acrylic paint at any art & crafts stores.
Pour small amount of the acrylic paint in the bowl then use brush to paint the book’s spine until it covers the book tittle. Repeat the same steps to the rest of the books.
If you decide to use a white color book, you can paint the whole cover with white acrylic paint or any colors you desire. For this project, I choose black and white scheme, because it looks timeless, classy, elegant and it’s a perfect combination to match with any colors of your home décor.

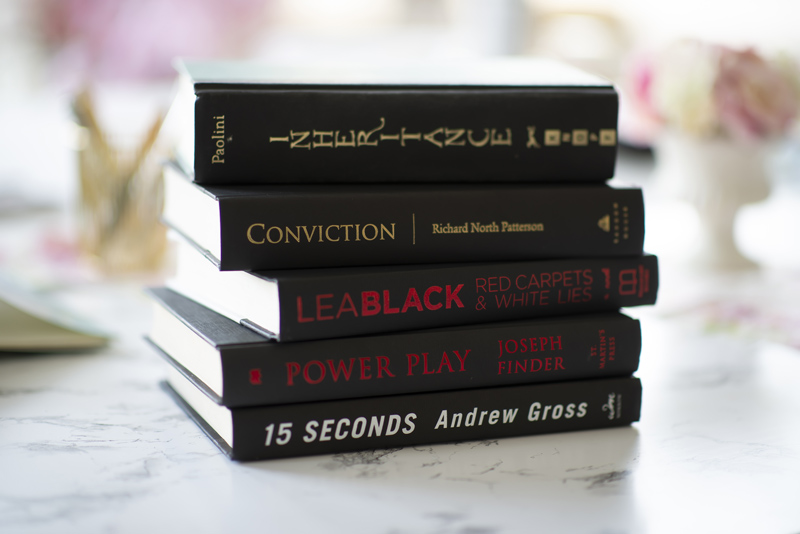
While waiting the paint to dry, search for the logos of your favorite fashion designers on Google Images, then click Tools & Size. Try to get large resolution as you can so when you print them, you will get crisp and clean printout rather than smeared or blurry ones.

After choosing your desire logos, transfer them to a blank page in Microsoft Word. Make sure each size of the fonts and images fit the book nicely. Measure the width and the length of the book first, then resize each image so they look good in proportion before printing process.


After printing those images on papers, cut them with a paper cutter and use a ruler to get the exact lining to fit your book or you can use scissors you have at home. Glue the logo to the book by using spray glue or any glue and tap with a tissue paper to avoid bubbles on the surface. You may do other variation such as glue the logo on the front cover.
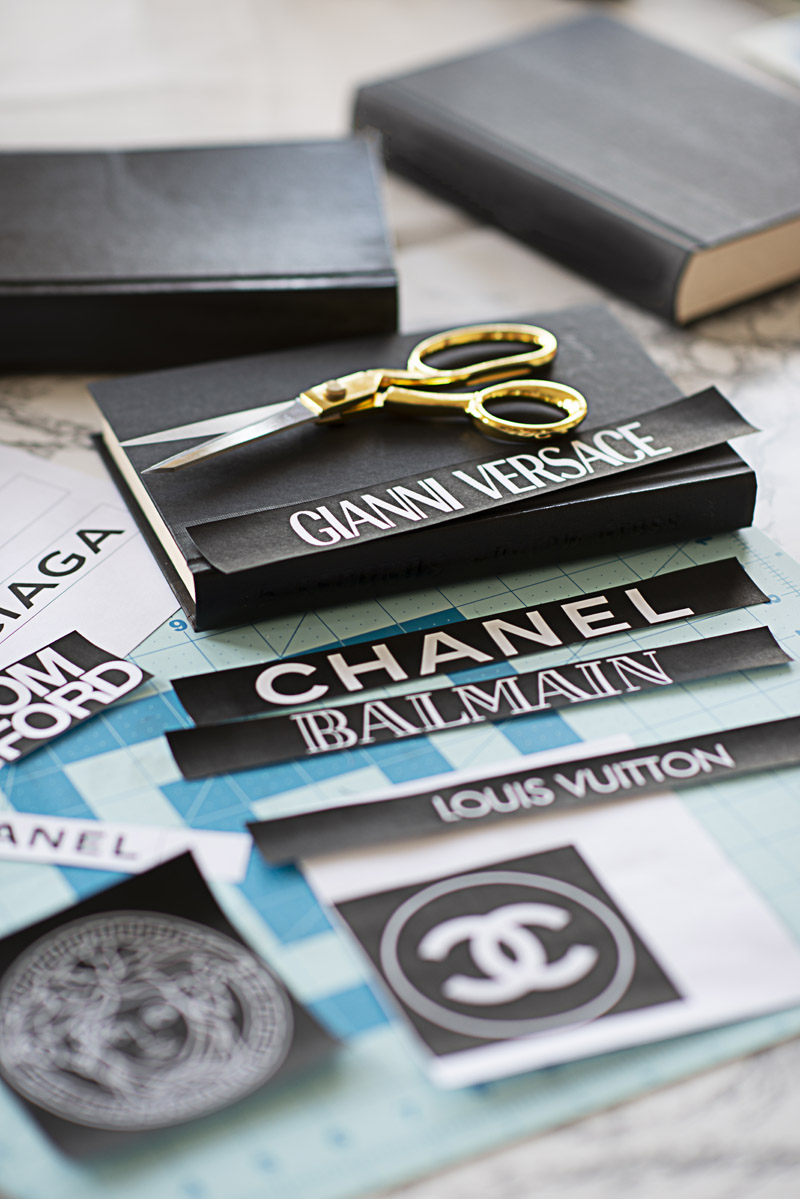
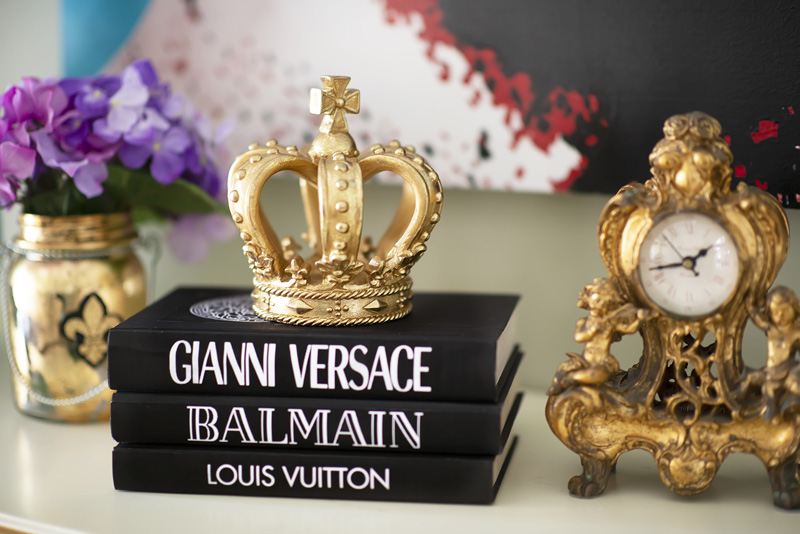
Now you have a stack of glamorous fashion de signers’ books as your home décor. How fancy !

To find out more about this DIY, CLICK HERE FOR THE VIDEO