I have always been in love with romantic and feminine home décor especially in French décor style. Today we are gonna do Decoupage to make blue & white Chinoiserie Pumpkins for your table centerpiece.

Chinoiserie derives from the French word chinois, meaning `“Chinese”, so it is a western aesthetic inspired by Chinese designs. During the 17th until 18th centuries, Europeans were very interested with Asian culture so they tried to blend with their art and also King Louis XV of French thought Chinoiserie blended well with the Rococo Style.

So what is Decoupage ? It actually comes from the French word “decouper,” which means to cut out or cut from something else.

Let’s to do a festive fall themed craft project using the decoupage method by gluing items to the surface of a pumpkin.
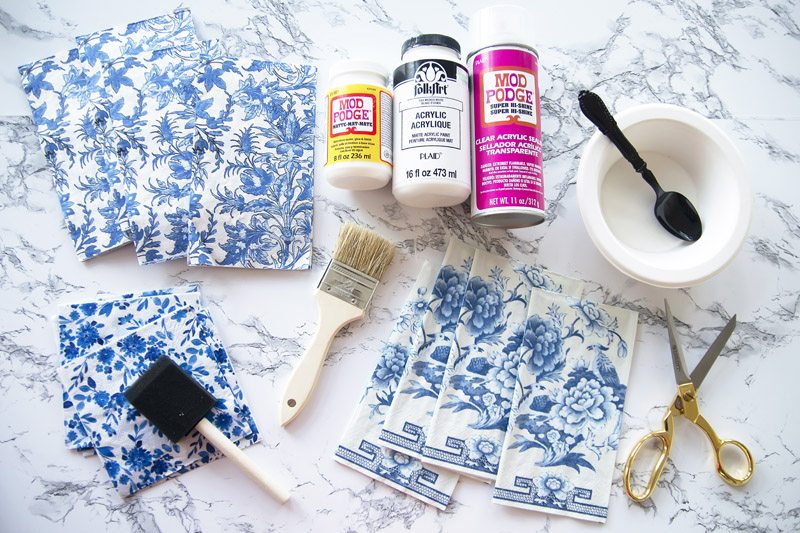
These are all of the supplies that you will need :

 
  • Foam Pumpkins
  • tissue paper/paper napkin (Chinoiserie design)
  • Scissor
  • Mod Podge (Decoupage Glue)
  • Foam paint brush and regular Brush
  • Sealer (optimal)
  • Plastic/paper bowl
  • Plastic spoon
  • Chopstick
 

I chose these foam pumpkins because they have deep beautiful curves. Some pumpkins more flat without any deep dent. I also recommend using different sizes of pumpkins to create an even more artistic centerpiece for your table

Chose a napkin color that fits your home décor style.

First separate the layer of napkins, since you only need the top layers with the design, and also the thinner the layer, the easier to work with for this project

I prefer using white pumpkins since the paper napkins that I am using has a white background. But if I don’t have white pumpkin, I am going to paint them white using acrylic paint. This prevents the napkin design from showing. I am using a chopstick as a handle to make the painting easier. Also I am using acrylic paint because it’s easy to clean up with water and dries quickly.

Let them completely dry. You might need to paint a second coat if needed.

After the paint is completely dry, Now, lay the decorative napkin over the top center of the stem. To see how it will fit, mark it with a pen. Take off the napkin and then cut a hole where the stem is.
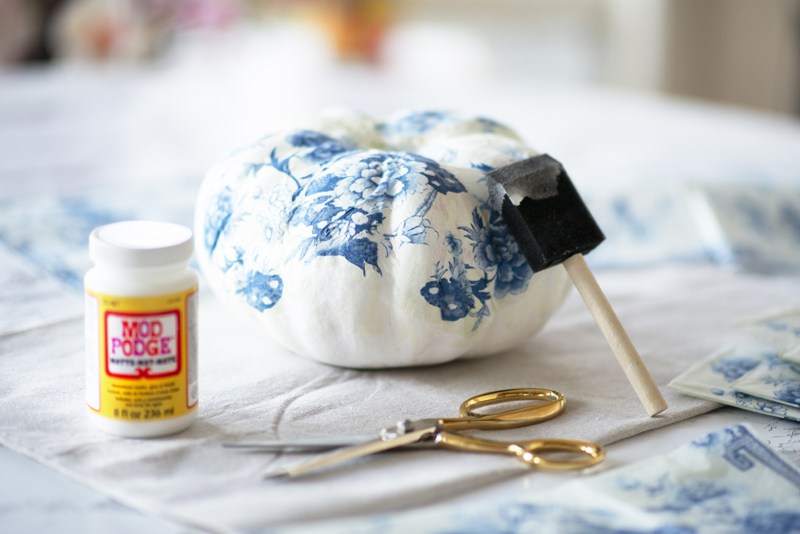
Applying your glue all over the pumpkin using the foam paint brush. Make sure to apply the glue only on the pumpkin not the napkin.

Attach the tissue to the pumpkin by simply pressing down with your fingers to gently smooth out the bubbles and wrinkles. Make sure to be gentle otherwise the napkins will tear.

Let the first layer dry completely before you add another piece of tissue paper. Lastly, after all second layer are dry then you can use spraying as a sealer.

If you see that the tissue paper seems a little bit wrinkled after applying mod podge, that’s okay because it won’t really be noticeable when dry.

Your beautiful decoupage pumpkin is complete!

To find out more about this DIY, CLICK HERE TO WATCH THE VIDEO
 

Loading

Halloween for me is the perfect holiday to get my imagination running wild about the creepy ways to setup a Halloween table with really scary decorations.

Black or Orange are very popular Halloween colors but you can pair any color you like with black for your Halloween decoration and still look incredibly creepy.

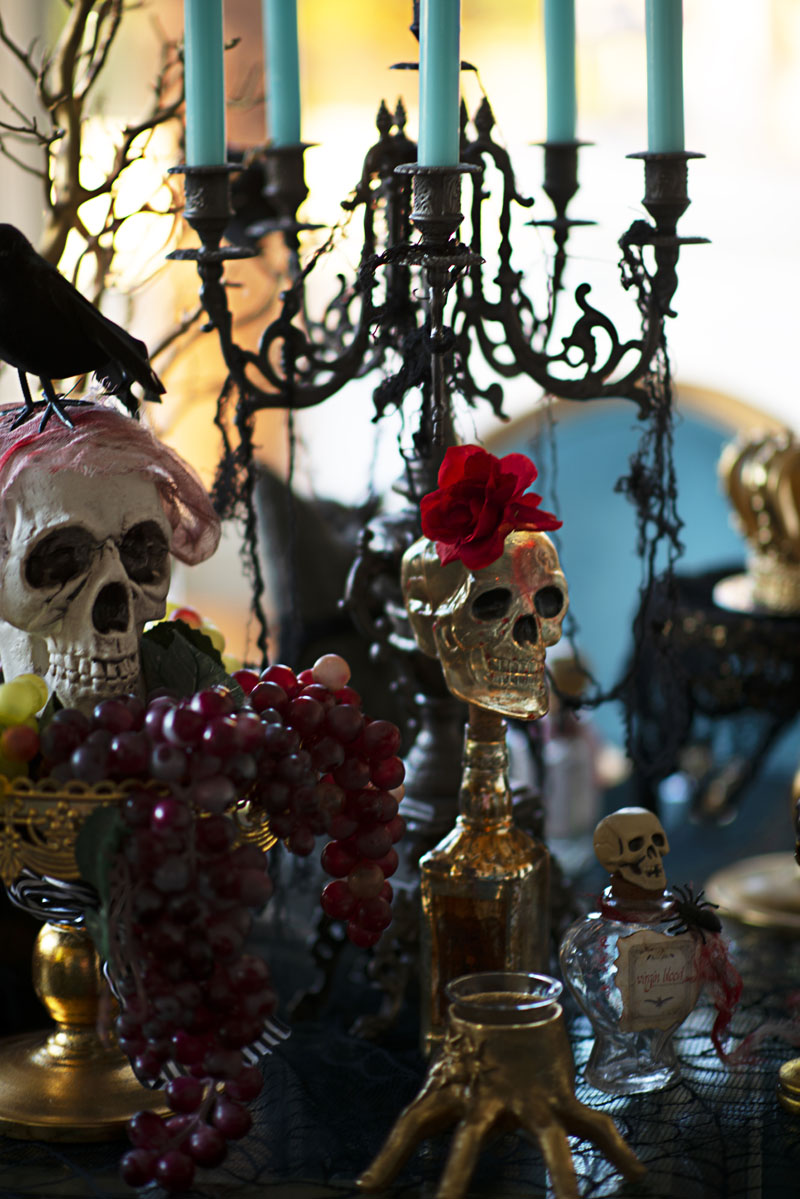
The decoration this year was inspired from the evil queen who lives in a castle in a remote area in Europe. The color scheme I chose are creepy black against glamorous gold with a hint of red blood color.

THE EVIL’S QUEEN LAVISH BANQUET

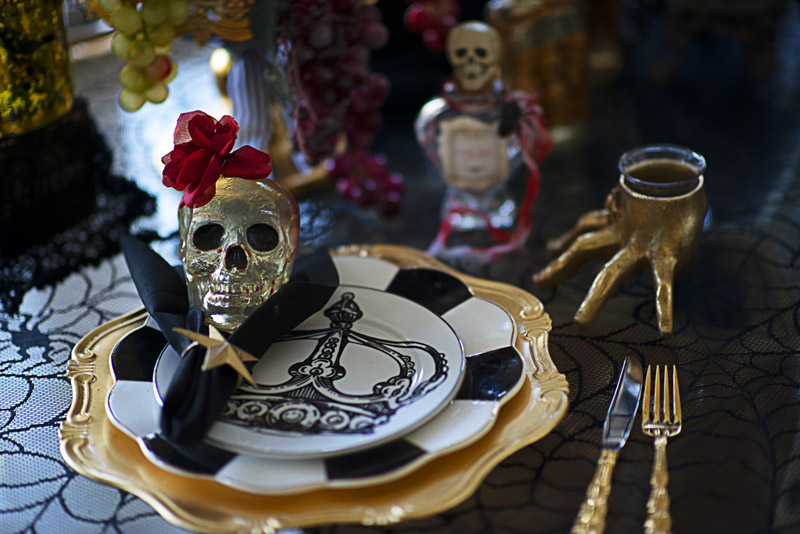
Glam Dark Table Setting with a lot of skulls.
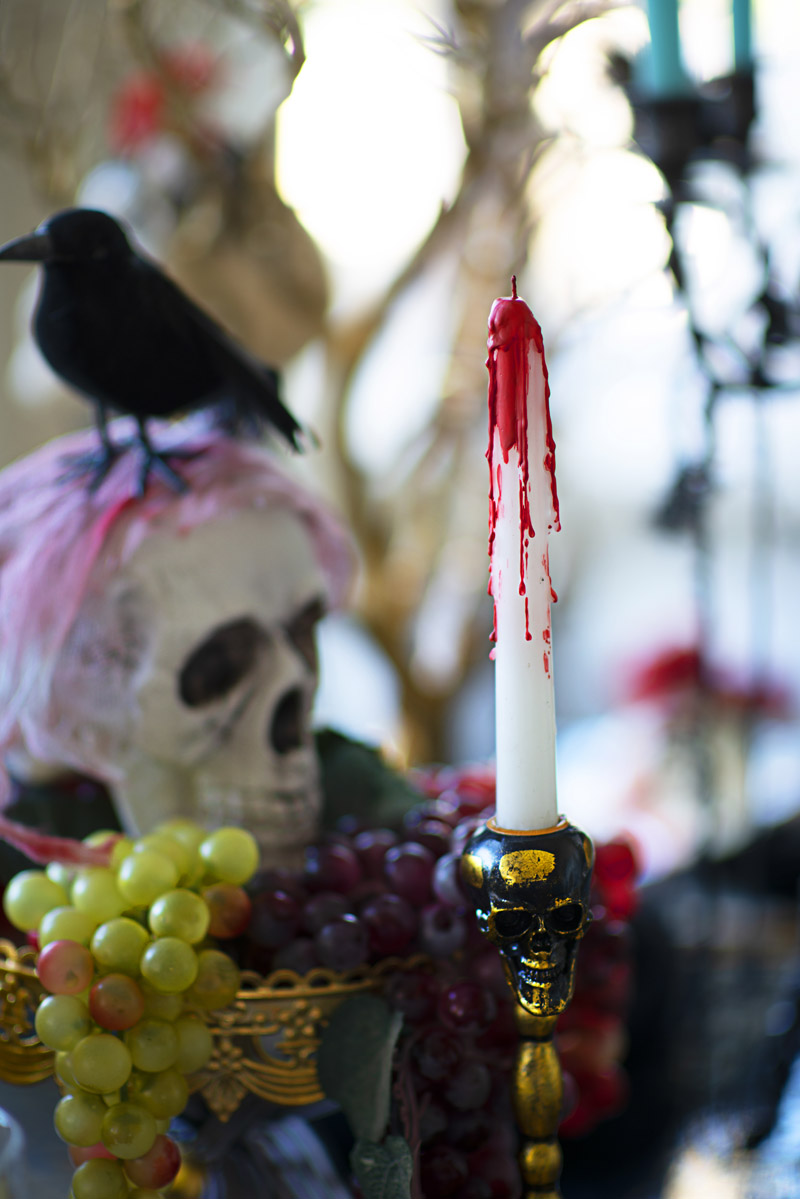
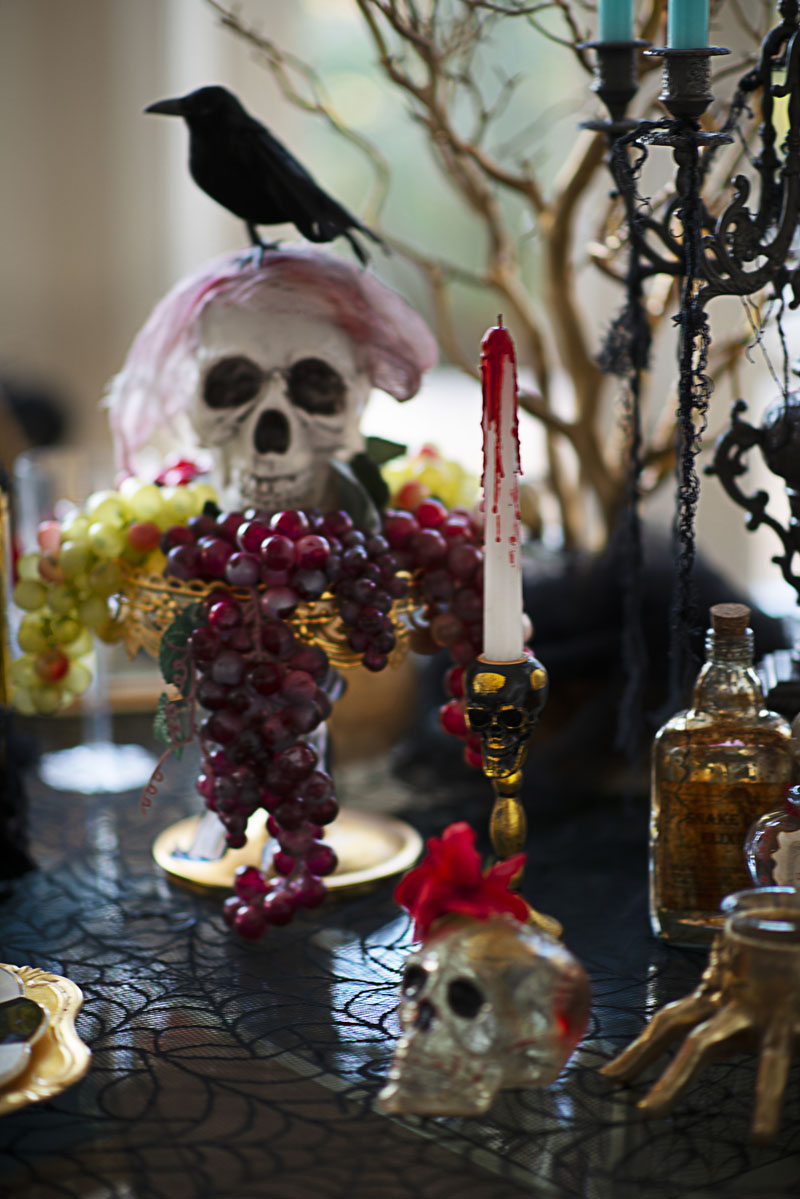
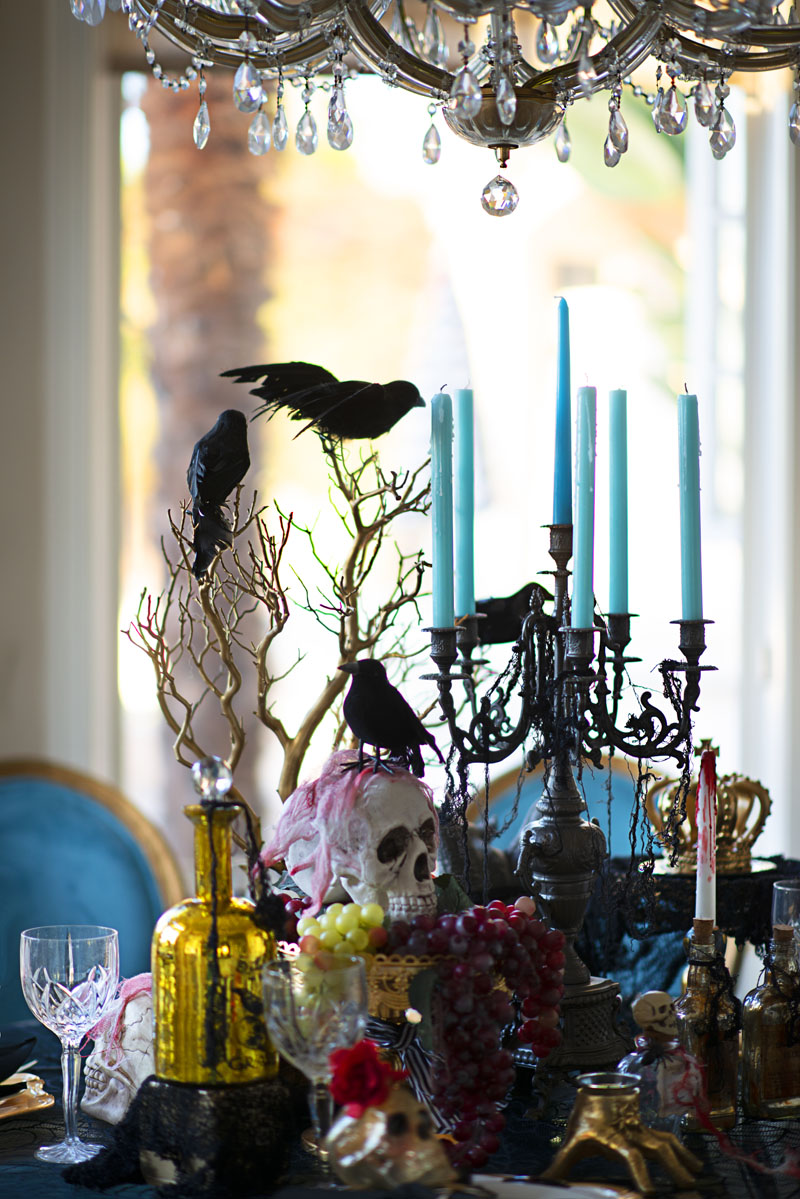
You can put a cheesecloth that is dipped into red paint (I use acrylic paint, it’s easy to clean up with water) then cover the top of a plain skull. A black raven perched on the skull creates even more spookiness while dining on this dreadful night

CREEPY GLAM

Twisted royal dining table setting. Gold looks incredibly glam when paired with black and white but it can be a creepy glam with a splash of bloody color around the table area.

GOLD TABLEWARE

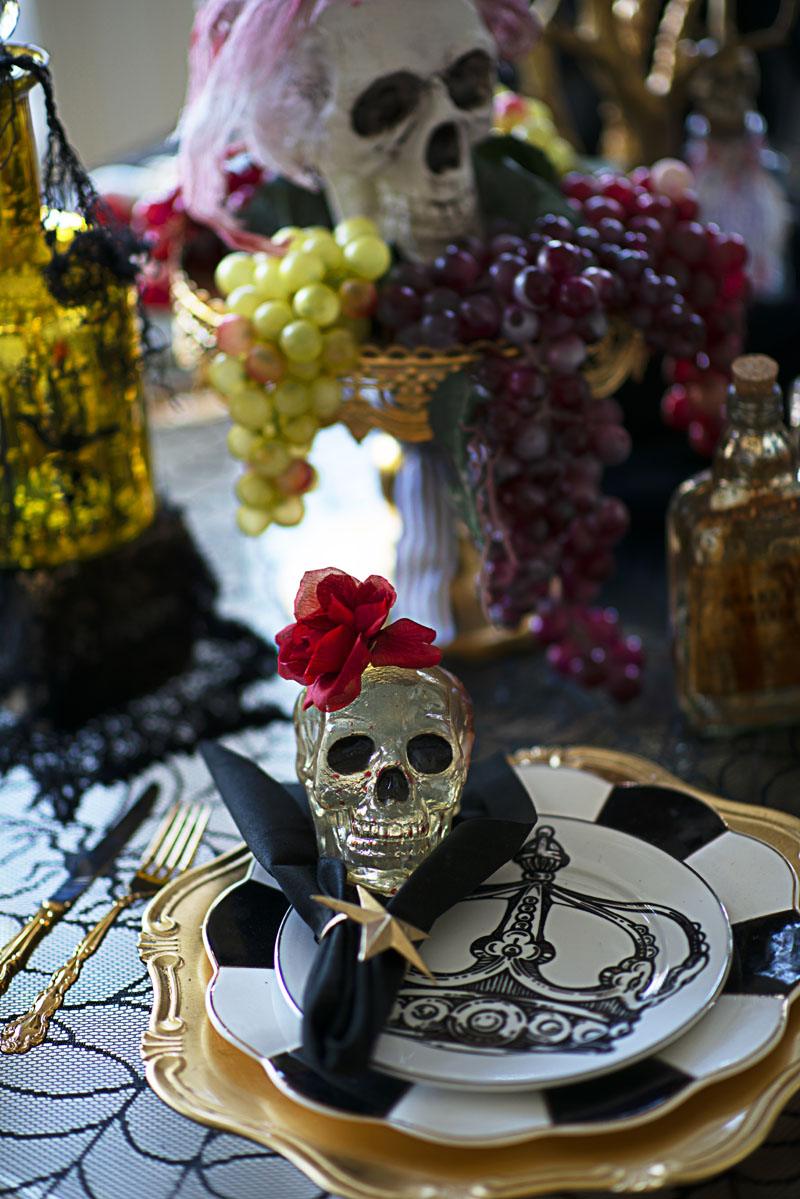
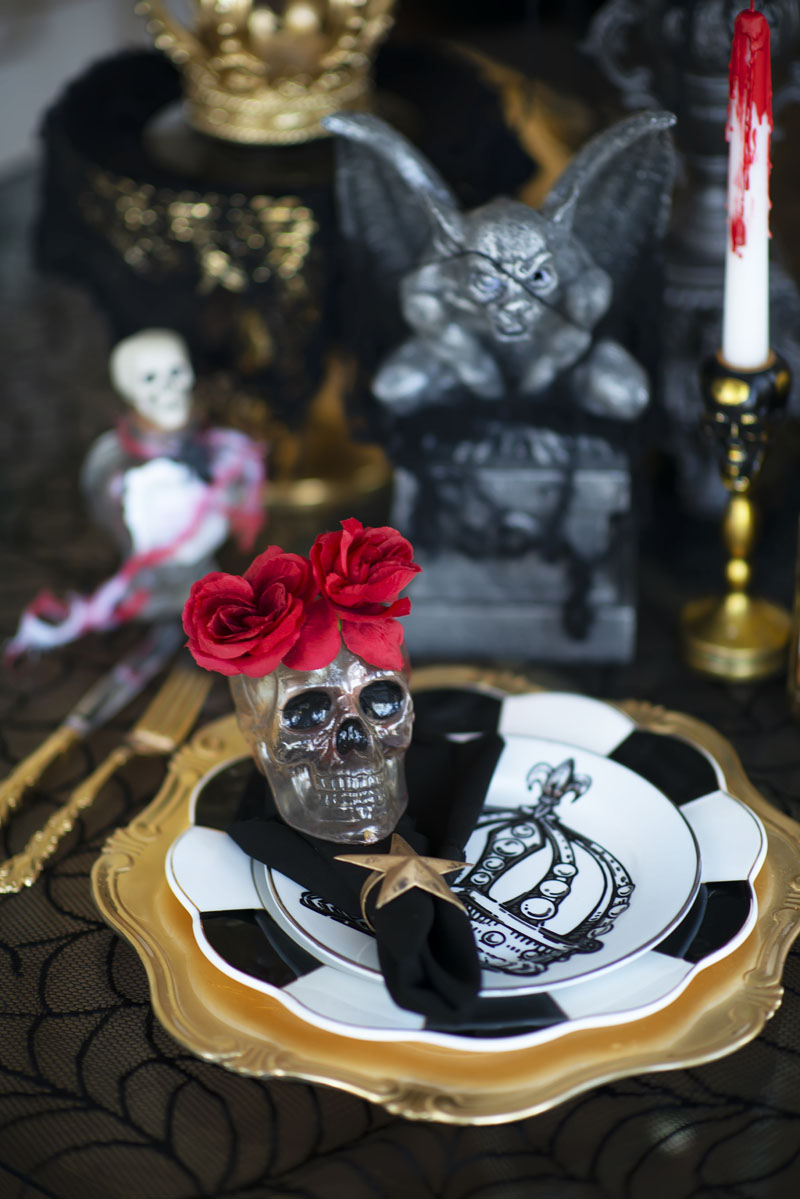
This crown plate paired with Gold tableware and antique crystal glassware is perfect for the evil queen’s lavish banquet. I put a plastic red rose on the skull to give it a pretty strange feel, yup we all gonna eat human meat tonight. You can use any color of flower you like or a skeleton hand palm or even a spider. This table setup screams Halloween dark elegance.

GARGOYLE

Gargoyle sculptures are as unique as they are frightening. Demonic Spirit and Gargoyle make an evil balance for the night.

BLEEDING CANDLE

Cold, misty, dark night is not complete without a bleeding candle.

How to make bleeding candle ? light the candle until the wax is dripping then smear on red paint (I use acrylic paint) all the way into the dripping from the dried wax. This bleeding candle is perfect for welcoming unwanted spirits on Halloween night.

GOTHIC ACCENTS

Gothic accents are a way to create a frighteningly scary night. Here I used a Victorian candle holder with blue candle sticks. I hang ripped up cheesecloth to surround the candle holder to make an old rustic atmosphere feel chic and ready for a fabulous elegant gathering.

A TREE BRANCH

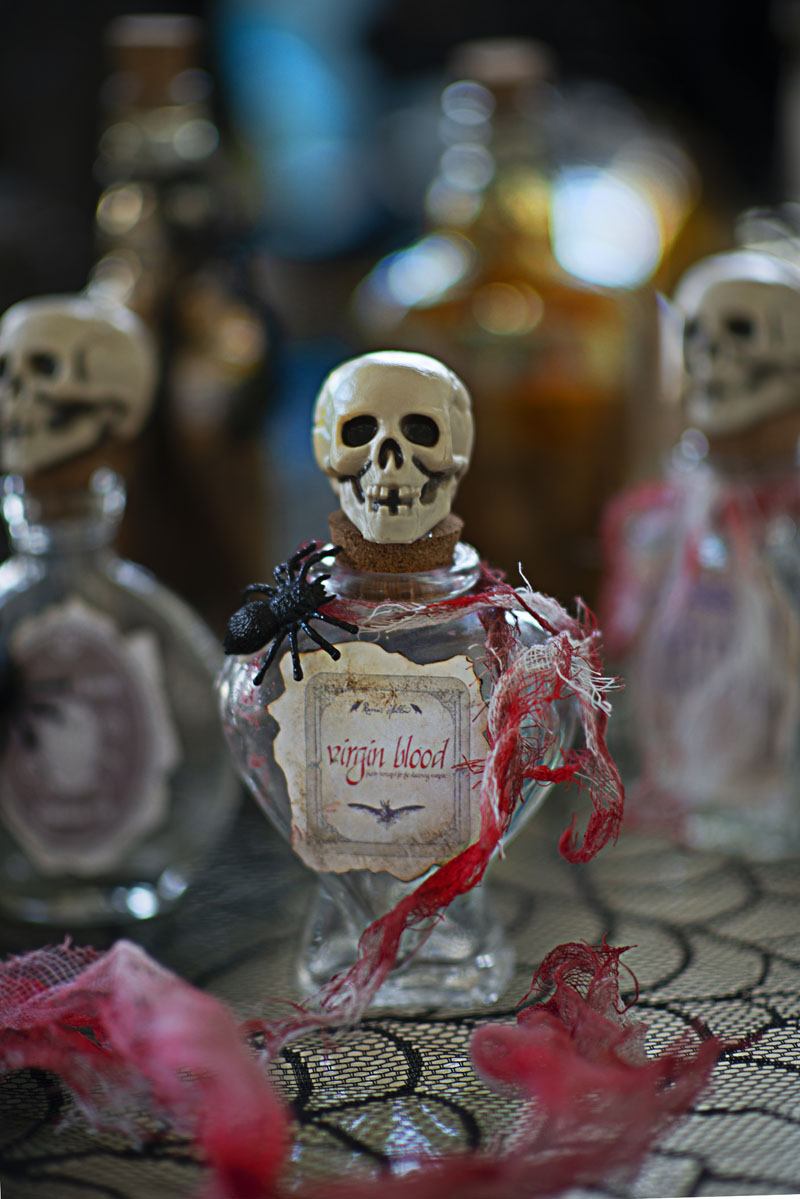
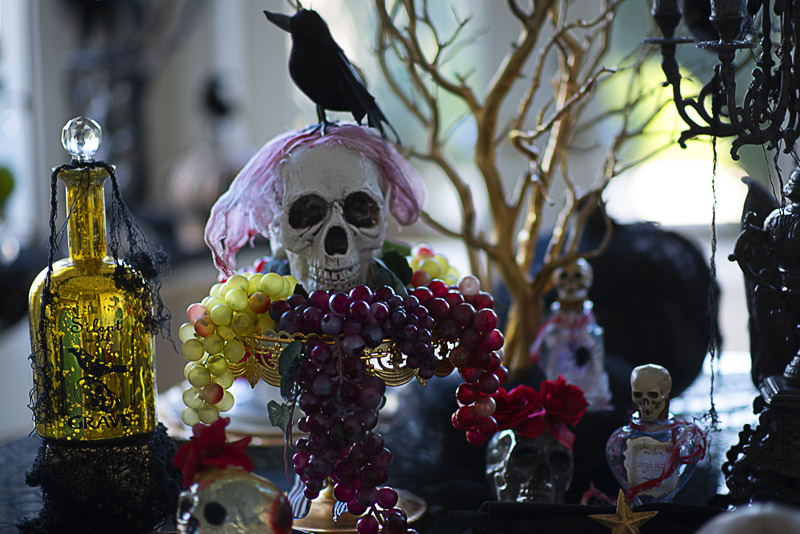
A tree branch with a rotten skull accompany a raven and poison bottle, all making that creepy Halloween feeling. A Table full of creepy accents. Fruit is served at evil Queen’s royal banquet. The creepier the better right ?

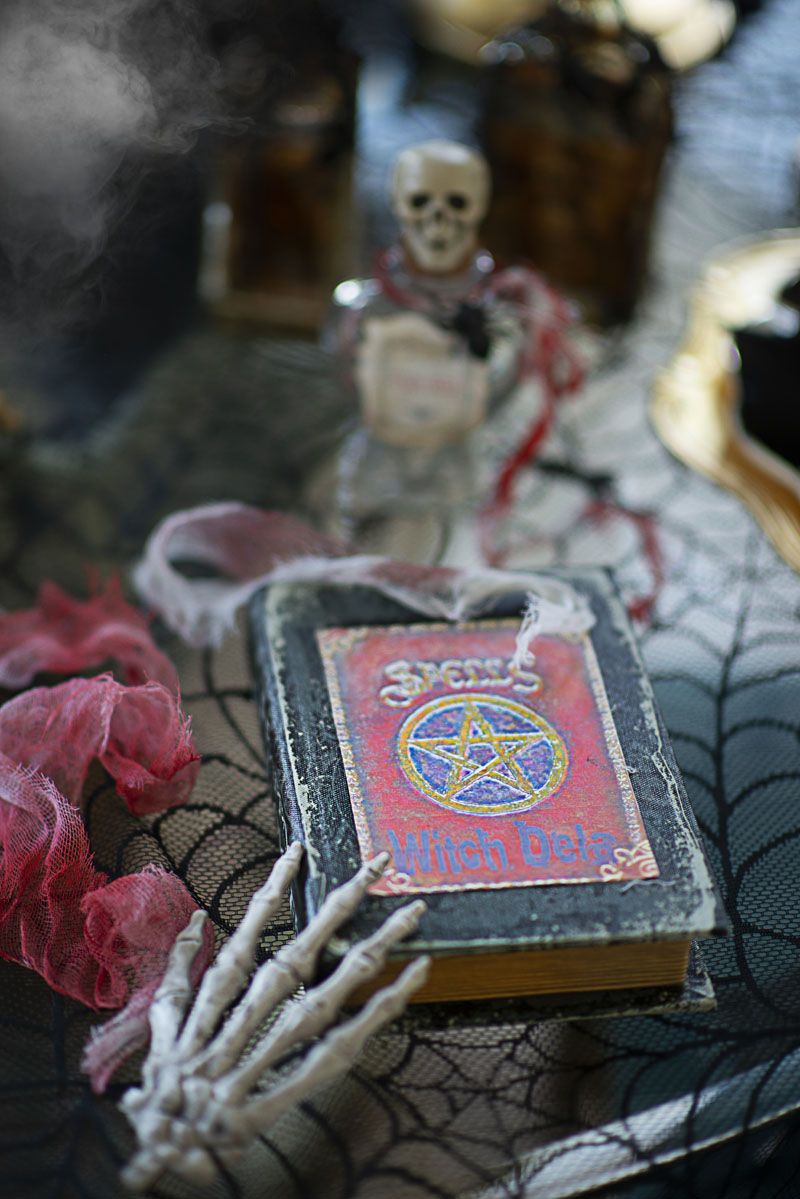
Some Gothic Accents and other Halloween accents with different textures and materials.

We have seen plastic pumpkins in popular colors, like orange and white. Actually you can paint any color you like fit into on your theme on Halloween. This year I am gonna change to black to fit into my themed of black and gold with a hint of red blood. Use spray paint to change the color. Easy !! and you can repaint it again for the next Halloween.

HALLOWEEN ACCENTS

Some Gothic Accents and other Halloween accents with different textures and materials.

THE EVIL QUEEN CROWN

THE EVIL QUEEN’S ROYAL DINNER IS SERVED SOON

Click here to watch the video

I had so much fun playing with a darker style of photography on this Halloween table setting. It’s certainly different from my usual photographing style that’s full of color and brightness. Happy Halloween Everyone!

TABLE SETTING IDEAS & PHOTOGRAPHY BY DELA DEWI

Loading

The military look is making a comeback on the runway in a big way; from black wool berets to the military inspired parkas. It looks like everyone in fashion is making a statement of strength.

Have you heard of that anecdote that if you dress strong you’ll feel strong? Well, it’s kind of a life motto here at Fashion Frequency. Here’s our take on military fashion.

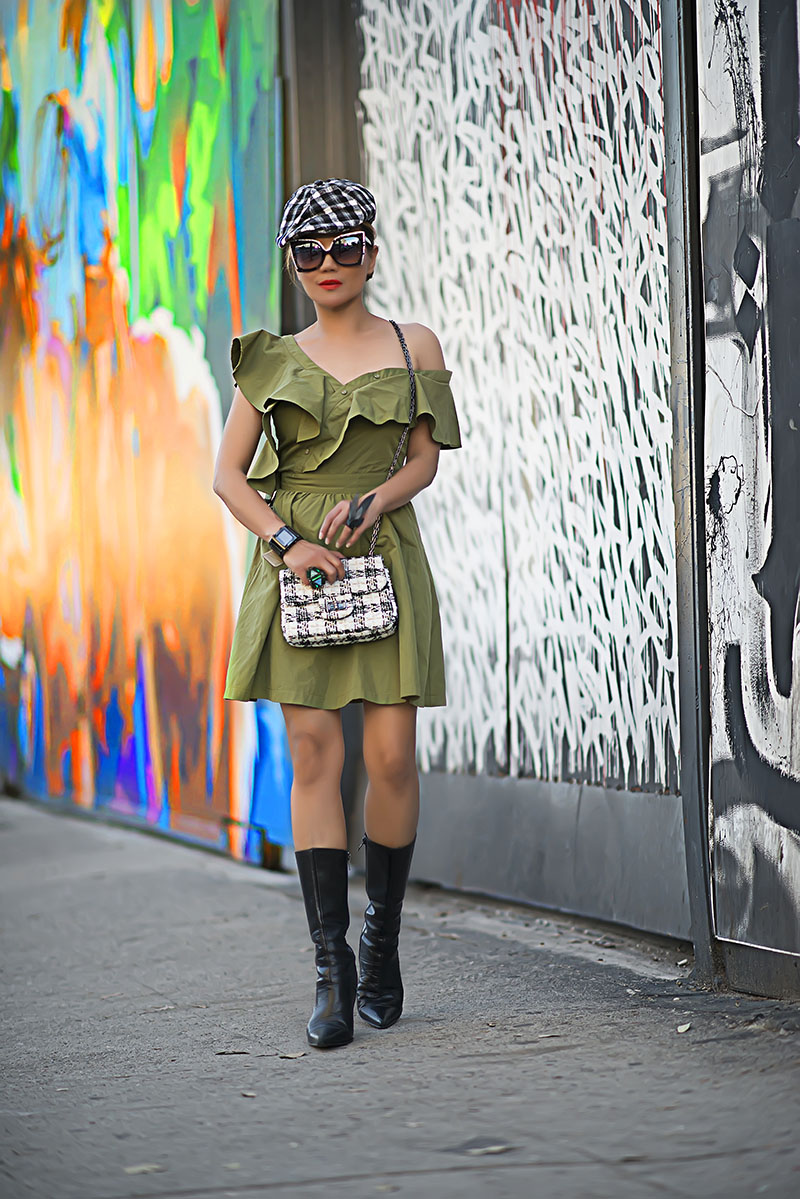
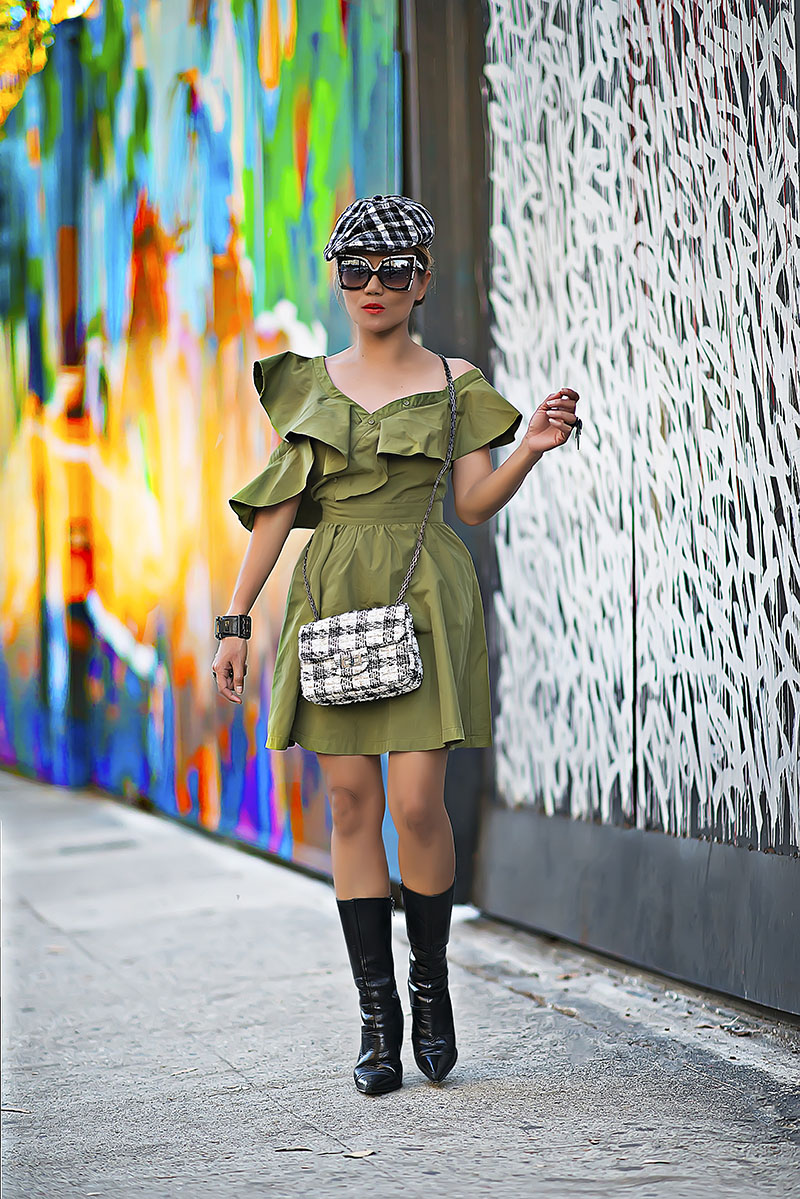
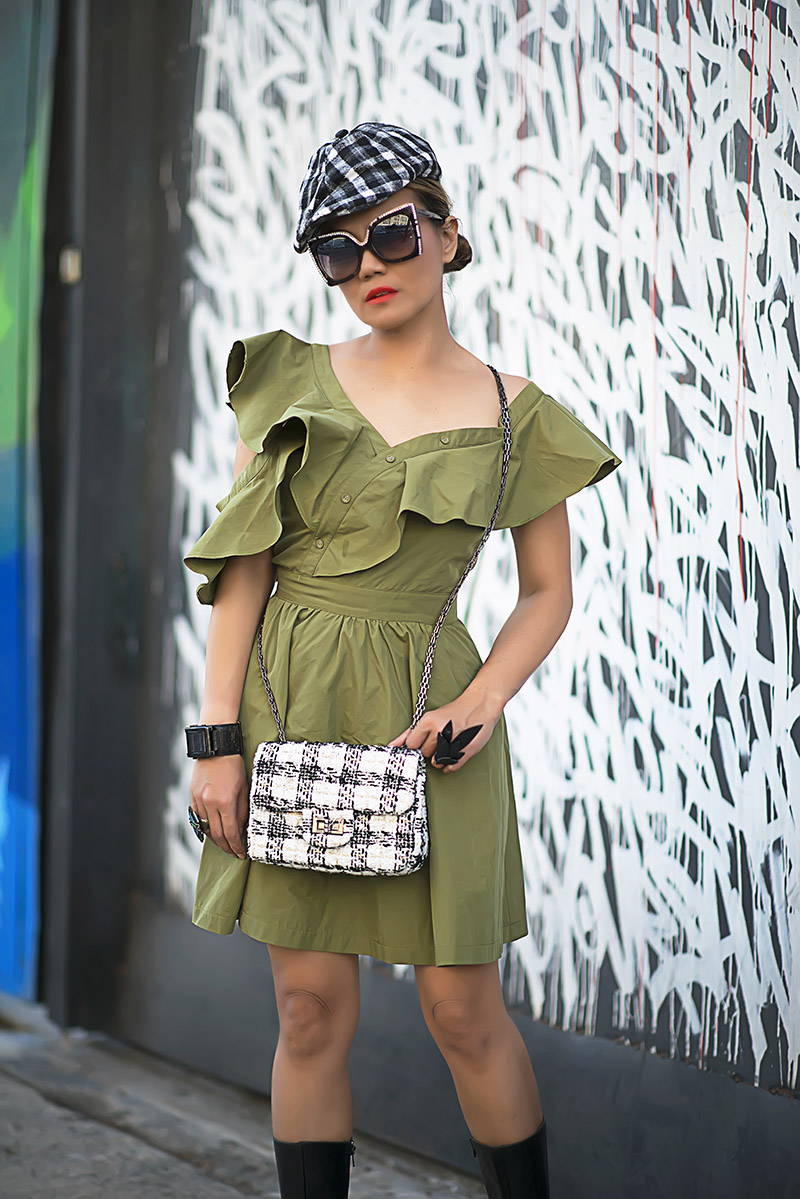
We’re more on the girly side here at Fashion Frequency so instead we’re working in some military colors instead of military shapes. Army fits can be too masculine to be flattering on a woman’s figure. So instead we found this beautiful cocktail dress in the strongest army green color and some killer leather boots to match. As you can see from the details, the dress still as soft and feminine shapes but the color really stands out as something else. A big tip for military dressing: Be sure to keep the accessories at a minimum as utilitarian dressing is always about the essentials.

Dress by J.O.A LOS ANGELES; similar found here, Bag by ZARA, Shoes by GUESS; found here

Loading